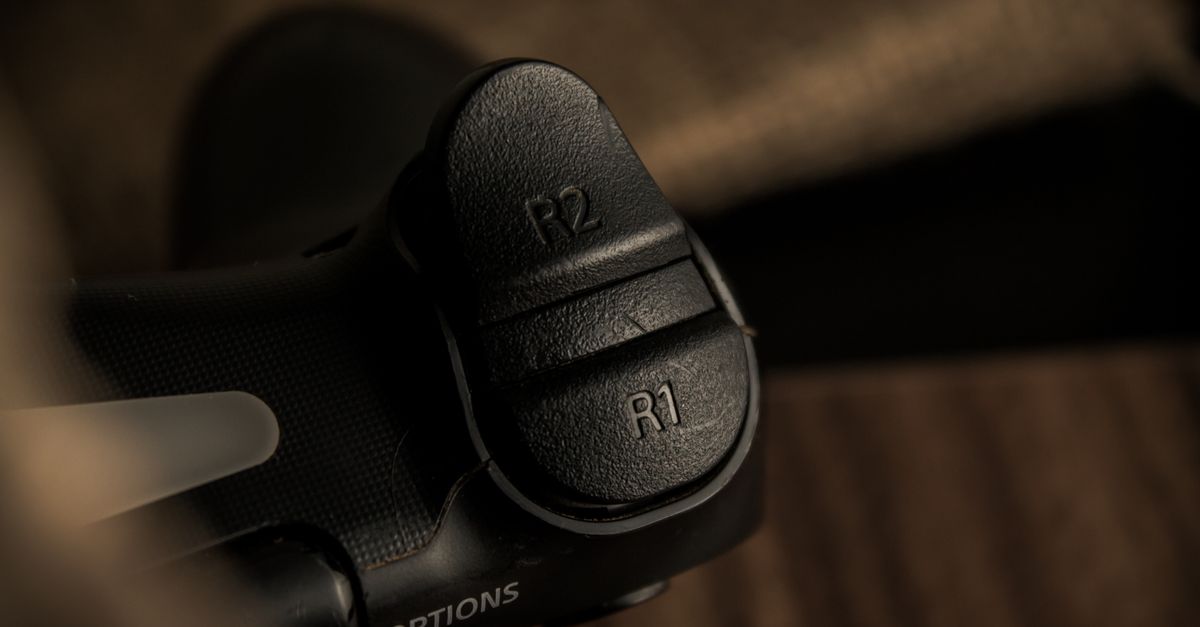
When your character starts strafing to the left without you touching the stick, or your camera slowly pans skyward in a crucial moment, you know the frustration: stick drift. It’s a phantom input that plagues every gamer at some point, making precise movements impossible and ruining immersion. Before you rage-quit and order a new controller, let me tell you, there’s often a fix – or at least a way to significantly extend your controller’s life. In my years of competitive gaming and endless hours with various controllers, I’ve seen stick drift manifest in countless ways, and almost always, it boils down to a few core culprits. The mistake I see most often is gamers jumping straight to replacement, not realizing that a little troubleshooting can save a lot of money and keep their favorite controller in the game.
Key Takeaways
- Dust and debris are the primary culprits for stick drift, not just wear and tear.
- Software calibration and dead zone adjustments can often mitigate or temporarily fix drift.
- Physical cleaning methods, from compressed air to isopropyl alcohol, address most hardware-related drift.
- Simple, preventative maintenance like covering your controller can significantly prolong its lifespan.
Address Software Glitches Before You Blame Hardware
What changed everything for me was realizing that not all stick drift is purely mechanical. Sometimes, the problem is simpler and less invasive: software. Before you even think about opening your controller or blasting it with compressed air, check the basics. Your console or PC might just need a recalibration, or the game itself could be misinterpreting inputs.
First, always restart your gaming device. This sounds basic, but I can’t count how many times a simple system reboot has cleared up phantom inputs or sticky button issues. It flushes out temporary software glitches that might be misinterpreting your controller’s signals.
Next, check your controller’s calibration settings. Both Windows and modern consoles (PlayStation, Xbox, Switch) have built-in calibration tools. For PC, navigate to Control Panel > Devices and Printers, find your controller, right-click for Game Controller Settings, and then Properties. You’ll usually find a ‘Calibrate’ option there. On consoles, these settings are typically buried in the accessories or controller menus. Run through the calibration process carefully, making sure the sticks return to a perfect center. This helps the system understand the neutral position of your joysticks.
Finally, and perhaps most crucially for competitive players, adjust in-game dead zone settings. A dead zone is the area around the center of your joystick’s movement where input isn’t registered. If your stick is experiencing minor drift, increasing the dead zone slightly can mask the issue entirely. Many modern games, especially shooters and racing titles, offer granular dead zone adjustments. Start by increasing it by just 1-2% at a time until the drift disappears. While this doesn’t fix the underlying mechanical issue, it makes the controller perfectly usable again for many more hours. This is an essential first line of defense, especially for older controllers or those with slight, intermittent drift.
Clean the Analog Stick Module from the Outside In
If software tweaks don’t solve it, the problem is likely physical. In my experience, the vast majority of stick drift comes down to microscopic dust, hair, or grime getting under the analog stick’s dome and interfering with the potentiometers. These tiny sensors track the stick’s position, and even a speck of dust can throw them off. The mistake I see most often is people not realizing how easily this debris can accumulate, even in a seemingly clean environment.
Your first, least invasive hardware fix is using compressed air. Hold the controller with the stick you’re cleaning facing downwards. Blast compressed air around the base of the offending joystick, rotating the stick in full circles as you do so. This helps dislodge any loose particles that might be caught underneath. I recommend doing this outside or over a trash can, as you’d be surprised what flies out.
If compressed air isn’t enough, it’s time for 90%+ isopropyl alcohol and a cotton swab or microfiber cloth. This is what changed everything for me when I faced persistent drift. Turn off your controller. Gently pull the problematic stick upwards, creating a small gap between the stick and the controller body. Apply a small amount of isopropyl alcohol to a cotton swab and carefully wipe around the exposed part of the stick mechanism. The alcohol evaporates quickly and leaves no residue, making it ideal for electronics. Move the stick in full circles, pressing it down slightly, to work the alcohol into the mechanism. Repeat this a few times, letting it dry for a few minutes between applications. The alcohol dissolves grime and grease that compressed air can’t dislodge.
For a more aggressive, but still external, cleaning, try the ‘stick click and rotate’ method after alcohol application. While the alcohol is still damp, push the stick all the way in one direction (until it clicks, if it’s a clickable stick), then rotate it in full circles around its perimeter, maintaining the pressure. Do this for 10-15 seconds, then repeat for the other directions. This helps spread the alcohol and dislodge any stubborn gunk from the potentiometers. This method can often revive seemingly dead sticks, in my experience.
Consider the Inner Workings: When to Open Up Your Controller
For most gamers, external cleaning is sufficient. But for persistent drift, or if you’re comfortable with a bit more DIY, opening the controller can offer a more thorough clean. I’ve done this countless times, and while it’s intimidating at first, it’s often the only way to truly eradicate deep-seated gunk. The mistake I see most often is people being too afraid to try, or using the wrong tools.
Gather the right tools. You’ll typically need a small Phillips head screwdriver, a plastic pry tool (guitar picks work great), and more isopropyl alcohol and cotton swabs. Consult a specific tear-down guide for your controller model (a quick search for ”[controller name] tear down” usually brings up excellent video tutorials).
Once open, carefully clean the potentiometers directly. These are the small, usually square components at the base of each analog stick, often green or blue, with a small rotating contact inside. You can usually identify them by the small levers that move as you move the stick. Use cotton swabs dampened with isopropyl alcohol to clean around these contacts. Some guides might suggest prying open the potentiometer’s casing for an even deeper clean, but I usually advise against this for beginners, as it’s very easy to damage.
After cleaning, reassemble the controller carefully. Make sure all ribbon cables are reconnected securely and screws are tightened appropriately, but don’t overtighten. Test the controller before fully sealing it up. In my experience, a thorough internal cleaning often gives a controller a new lease on life, sometimes for years.
Proactive Steps to Prevent Future Stick Drift
Prevention is always better than cure, especially with gaming gear. After investing in a good controller, it makes sense to protect it. The mistake I see most often is gamers treating their controllers like indestructible objects, leading to premature wear and tear.
Firstly, store your controller properly. When not in use, avoid leaving it lying face down on dusty surfaces or in areas where pet hair can easily get into the stick mechanisms. Consider a dedicated controller stand or a drawer. What changed everything for me was getting a simple, inexpensive fabric dust cover. It seems minor, but it drastically reduces the amount of airborne debris that can accumulate in the stick gaps.
Secondly, keep your hands clean. This sounds obvious, but greasy fingers from snacks, or even just natural skin oils, can contribute to grime buildup around the sticks. A quick hand wash before a long gaming session can make a surprising difference over time.
Finally, handle your controller with care. While modern controllers are robust, slamming them down or aggressively pulling the sticks can accelerate wear on the internal components. Analog sticks, in particular, have delicate mechanical parts that can wear out faster with rough handling. Be mindful of how you put it down, and avoid tossing it onto hard surfaces. These simple habits will pay dividends in controller longevity, in my experience.
When to Accept Defeat (and Consider an Upgrade)
Despite your best efforts, sometimes a controller is simply beyond repair. There comes a point where continued troubleshooting becomes a bigger investment of time and frustration than it’s worth. The mistake I see most often is gamers holding onto a dying controller long past its expiration date, impacting their gameplay and enjoyment.
Recognize the signs of irreversible damage. If the drift is severe, constant, and unaffected by any cleaning or calibration, it’s likely that the potentiometers are physically worn out or internally damaged. This is especially true for controllers that have seen thousands of hours of intense gameplay. You might hear grinding noises, or feel excessive looseness in the stick that wasn’t there before.
At this stage, consider an upgrade rather than a risky and potentially frustrating repair. While you can attempt to desolder and replace the entire analog stick module (often called an Alps potentiometer), this requires significant soldering skills and specialized equipment. For most gamers, it’s not a practical solution. The time, effort, and risk of further damage often outweigh the cost of a new controller, especially with how affordable some excellent third-party options have become.
What changed everything for me was understanding that some wear is inevitable. Controllers are consumables, designed for a certain lifespan. When the drift becomes an insurmountable obstacle to enjoyable gameplay, it’s a sign that your loyal companion has served its purpose. Invest in a new one, perhaps with Hall Effect joysticks that use magnets instead of physical contacts, offering superior durability and virtually eliminating stick drift as an issue. This technology, while still somewhat niche, is becoming more prevalent and is a game-changer for longevity.
Frequently Asked Questions
What exactly causes stick drift?
Stick drift is primarily caused by wear and tear on the analog stick’s potentiometers (the internal sensors that read movement), allowing dust, dirt, skin oils, and other microscopic debris to get inside and interfere with their electrical contacts. Over time, these contacts can also simply wear out or become misaligned, sending false signals to the console.
Can I use rubbing alcohol to clean my controller?
Yes, but it’s crucial to use 90% or higher isopropyl alcohol. Lower concentrations contain more water, which can damage electronics or leave residue. Isopropyl alcohol evaporates quickly and is safe for internal electronic components when used sparingly and allowed to dry completely.
Does increasing the dead zone reduce input lag?
No, increasing the dead zone does not reduce input lag. It simply increases the