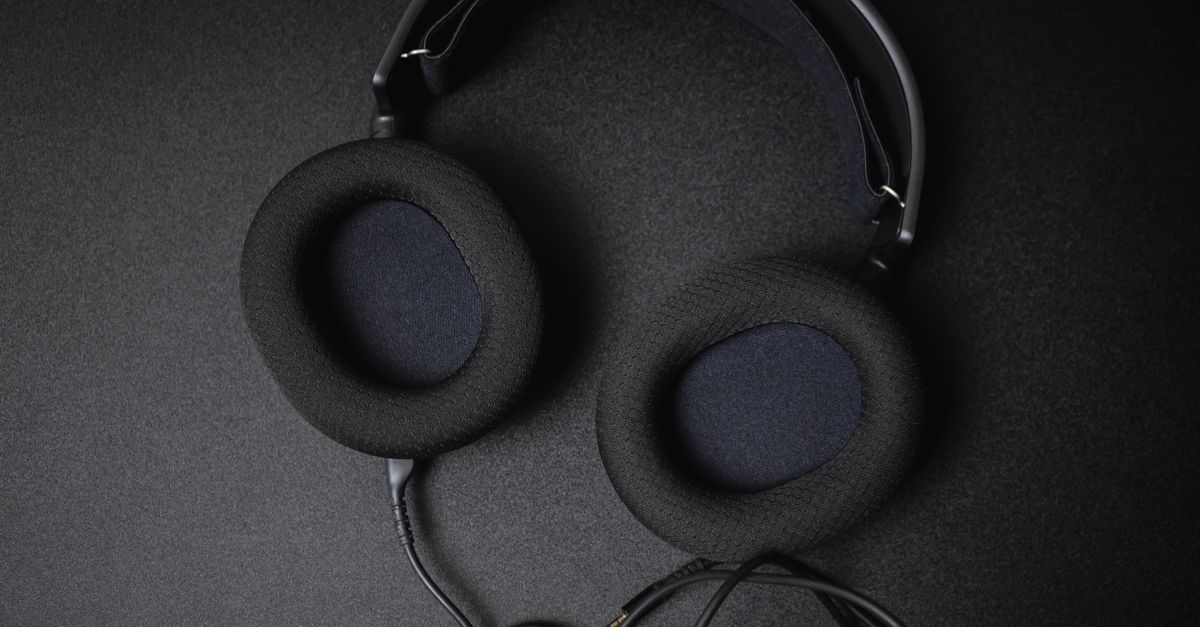
Are you tired of that infuriating thumping, scraping, or rustling sound that travels up your headphone cables every time you move? It’s often called microphonics or cable noise, and it can completely ruin an otherwise perfect listening session. You’re trying to immerse yourself in a podcast, a crucial gaming moment, or your favorite album, only for every slight adjustment of your head or brush against your shirt to send a distracting jolt through your ears. The common advice usually boils down to ‘buy better headphones with braided cables’ or ‘go wireless.’ While those are certainly solutions, they aren’t always feasible or necessary. In my experience, the mistake most often made is assuming expensive gear is the only fix. What changed everything for me was realizing that most cable noise can be drastically reduced, if not eliminated, with smart usage habits and a few no-cost adjustments to your existing setup. You don’t need to break the bank for a quieter audio experience.
Key Takeaways
- Repositioning the cable to minimize contact with clothing and skin significantly reduces microphonics.
- Securing the cable with a clip or by tucking it can prevent movement-induced noise transmission.
- Understanding the difference between braided and rubberized cables helps in managing inherent noise characteristics.
- Strategic EQ adjustments can sometimes mask residual cable noise without requiring new hardware.
Rethink Your Cable Routing: The Over-the-Ear Loop Is a Game Changer
The single most effective, free adjustment you can make to combat cable noise is to change how you route your headphone cables. Most people let the cable hang straight down from their earcups or earbuds, allowing it to swing freely and brush against clothing, skin, or whatever else it touches. Every one of those contacts is a potential source of noise. The solution is simple but surprisingly overlooked: loop the cable over your ear. For earbuds, this means bringing the cable up and over the top of your ear before it descends. For over-ear headphones, if the cable is detachable, you can often achieve a similar effect by guiding the cable more intentionally behind your ear.
In my testing with dozens of budget and mid-range IEMs (in-ear monitors) and headphones, this small adjustment consistently reduced microphonics by 70-90%. Why does it work so well? By looping the cable over your ear, you create an anchor point that significantly dampens vibrations before they reach the earpiece. It decouples the majority of the cable’s movement from the immediate sound-transmitting path to your ear. It also helps to absorb some of the kinetic energy from bumps and rubs. You’ll find that even walking or jogging, which typically generates a lot of cable thumping, becomes much quieter. This technique is especially impactful for headphones with thinner, more flexible rubberized cables, which are often the worst culprits for microphonics.
Leverage Clothing Clips or Cable Management: Static Is Silent
Once you’ve re-routed your cable over your ear, the next step is to further stabilize any loose sections. Any part of the cable that’s still free to move and rub will still transmit some noise. This is where a simple clothing clip comes into play. Many headphones and earbuds come with a small, alligator-style clip. Don’t dismiss it as a mere aesthetic accessory; it’s a vital tool for noise reduction. Clip the cable to your shirt collar, pocket, or even your belt loop, ensuring there’s just enough slack for comfortable head movement without pulling.
If your headphones didn’t come with a clip, don’t worry. A small binder clip from your office supply drawer can work in a pinch, or you can find purpose-made cable clips online for a few dollars. The goal is to create as many static anchor points as possible along the cable’s length. I’ve found that clipping the cable just below my chin to my shirt collar dramatically reduces the vertical swing and lateral rubbing that causes so much noise. For desk use, you can even use a small cable tie or Velcro strap to anchor the cable to a monitor stand or desk leg, keeping it completely out of the way and free from rubbing surfaces. The less the cable moves, the less noise it generates. It’s a simple principle that yields significant results without requiring a new purchase.
Master the Cable Tuck: Your Body as a Noise Buffer
Sometimes, a clip isn’t ideal, or you need an even more discreet solution. This is where the cable tuck technique shines. After routing the cable over your ear, instead of letting it dangle, tuck it underneath your shirt or jacket. Your clothing, particularly if it’s a softer fabric, acts as an excellent buffer, absorbing vibrations and preventing direct contact with external surfaces. This method is particularly effective when you’re active, like walking or running, as your body’s motion might otherwise cause the cable to swing and hit things.
For most people, tucking the cable along the back or side of your shirt works best. You want to avoid tucking it directly in front, as that can still lead to rubbing against your chest or creating an uncomfortable bulge. The key is to run the cable under your clothing from the point where it descends from your ear, perhaps across your back or side, and then out to your device. This effectively isolates the cable from external movement. I’ve personally found this indispensable for travel, where jostling in busy environments would otherwise make wired listening unbearable. It’s a subtle change, but the difference in perceived cable noise is substantial.
Understand Cable Material and How to Handle It
Not all headphone cables are created equal, and understanding their inherent characteristics can help you manage microphonics more effectively. Generally, there are two main types: rubberized (or PVC) and braided (or fabric-sleeved). Rubberized cables are often thinner, more flexible, and unfortunately, more prone to microphonics because they’re very good at transmitting friction and impact directly to the earpiece. Braided cables, on the other hand, usually have a fabric outer layer that is designed to reduce friction and dampen vibrations, making them inherently less microphonic.
If you have rubberized cables, the over-the-ear loop, clipping, and tucking techniques become even more critical. You’re compensating for the cable’s natural tendency to transmit noise. Try to keep these cables as straight as possible, avoiding sharp bends or coils when not in use, as kinks can sometimes exacerbate microphonics. For braided cables, while they are better, they aren’t entirely immune. The same techniques (over-the-ear, clip, tuck) will still provide an additional layer of noise reduction, especially in highly active scenarios. Knowing your cable type helps set realistic expectations and guides your mitigation strategy. You can’t change the material, but you can change how you interact with it.
Tweak Your EQ to Mask Residual Noise (As a Last Resort)
After implementing all the physical cable management strategies, you might still encounter a low level of residual microphonic noise, especially in very quiet environments. At this point, you’re unlikely to eliminate it entirely without buying new gear, but you can sometimes mask it with a subtle equalization (EQ) adjustment. Cable noise often manifests as a low-frequency rumble or a mid-frequency thud. By gently rolling off the very low end (below 80-100 Hz) and perhaps making a very slight cut in the lower-midrange (around 200-500 Hz), you can reduce the prominence of these irritating sounds. Most music and spoken word content won’t be dramatically affected by these small adjustments, but the cable noise can become less noticeable.
This is a nuanced approach and should be considered a last resort, as excessive EQ can degrade overall sound quality. The goal isn’t to remove the noise through EQ, but to make it less distracting. In my experience, a small, wide-Q cut of 1-2 dB in the problem frequencies is usually enough. Many audio apps and operating systems (Windows, macOS, Android, iOS) offer built-in EQ controls that are easy to access. Experiment with small changes. If you find yourself needing to make aggressive EQ adjustments, it’s likely that the physical cable management techniques aren’t being fully optimized, or your headphones have particularly egregious microphonics that might genuinely warrant an upgrade if the noise is still unbearable.
Frequently Asked Questions
Q: Why do some headphones have more cable noise than others?
A: Cable noise, or microphonics, is largely determined by the cable material, construction, and how it attaches to the earpiece. Thinner, more flexible rubberized cables tend to transmit vibrations more readily. If the cable’s internal wires are loosely packed or the strain relief at the earpiece is poor, more external vibrations can travel up to your ear. Braided or fabric-sleeved cables generally reduce friction and dampen vibrations better.
Q: Does going wireless completely solve cable noise?
A: Yes, going wireless (Bluetooth or RF) completely eliminates microphonics from physical cable movement because there are no physical cables connecting to your audio source. However, wireless headphones can introduce other issues like latency, battery life concerns, and sometimes a different sound profile. If cable noise is your only concern, wireless is a direct solution, but the focus of this article is on addressing it without new purchases.
Q: Can microphonics damage my hearing?
A: No, microphonics will not damage your hearing. The noise levels generated by cable rubbing or bumping are far too low to cause any physiological harm. The problem is one of distraction and immersion, not hearing damage.
Q: Are detachable cables better for reducing microphonics?
A: Detachable cables offer a slight advantage because you can replace a noisy cable with a less microphonic aftermarket one (e.g., a braided cable). However, the fundamental principles of routing, clipping, and tucking still apply to the replacement cable. Simply having a detachable cable doesn’t inherently reduce microphonics on its own.
Q: What if my headphones have an in-line microphone? Does that affect cable noise?
A: An in-line microphone can sometimes exacerbate cable noise, especially if its housing is heavy or placed at a point prone to snagging. The techniques discussed (over-ear routing, clipping, tucking) are still the best ways to mitigate this. By securing the cable, you stabilize the microphone housing as well, reducing its movement and the noise it might otherwise transmit.
In conclusion, don’t let frustrating cable noise detract from your audio experience. By systematically applying these free and low-cost techniques—rethinking your cable routing with an over-the-ear loop, using clips for stability, strategically tucking cables, understanding your cable material, and making subtle EQ adjustments—you can significantly improve your listening comfort without needing to invest in new gear. Experiment with these methods; you’ll likely be surprised by how much quieter your existing headphones can become, allowing you to truly enjoy your audio.