Why Your Homemade Pizza Crust is Soggy (And The Pro Secrets for Pizzeria-Quality Crisp)
You’ve envisioned it: a perfectly golden, crispy-edged pizza, fresh from your oven. You pull it out, the cheese bubbling, the aroma intoxicating. But then, you take that first bite, and instead of a satisfying crunch, you get… a sad, floppy base. It’s a common culinary heartbreak, one I’ve experienced more times than I care to admit. For years, my homemade pizzas suffered from the dreaded soggy bottom, no matter how hot I preheated the oven or how many fancy ingredients I bought. I thought I was doomed to only enjoy truly crispy crusts from my local pizzeria.
But the truth is, a truly crispy pizza crust isn’t about expensive equipment or secret ingredients; it’s about understanding a few fundamental principles of heat, moisture, and technique that most home bakers overlook. I spent months obsessing, experimenting, and even consulting with a few local pizza pros (who were kind enough to share some wisdom). What I discovered changed my pizza game entirely. If you’re tired of limp, undercooked crusts and ready to elevate your homemade pizza to pizzeria standards, this is for you. We’ll dive into the hidden culprits behind soggy crusts and, more importantly, what actually works to achieve that perfect, crackling crisp every single time.
Key Takeaways
- Most soggy crusts are caused by excess moisture, insufficient heat, or improper baking surfaces, not your dough recipe.
- Preheat your oven and baking surface for at least 60 minutes at its highest setting to mimic professional pizza ovens.
- Use a pizza steel or thick pizza stone, not a thin metal pan, to transfer intense, even heat directly to the dough.
- Less is more: avoid overloading your pizza with toppings, especially wet ones, to prevent moisture buildup.
- Consider a par-bake for very wet toppings or if you struggle with consistent crispness.
The Overlooked Culprit: Insufficient Oven Heat
The single biggest mistake I see home cooks make, and certainly one I made for years, is underestimating the power of sustained, intense heat. A professional pizza oven bakes a pizza in 90 seconds at temperatures exceeding 800°F (425°C). Your home oven can’t reach those extremes, but you can compensate by extending the preheat time significantly. Most recipes tell you to preheat to 450-500°F (230-260°C) for 15-20 minutes. In my experience, this is nowhere near enough to get your baking surface – whether it’s a pizza stone or steel – truly screaming hot.
Think about it: when you slide a room-temperature pizza onto a not-quite-hot-enough surface, the dough immediately starts releasing moisture. That moisture has nowhere to go but down, steaming the bottom of your crust rather than searing it. This is why you get that sad, pale, floppy result. What changed everything for me was pushing the preheat time to at least 60 minutes, and often 90 minutes, at the highest temperature my oven would allow (usually 500-550°F or 260-290°C). This allows the pizza stone or steel to fully absorb and radiate heat, creating that crucial initial burst of intense heat that cooks the crust quickly and efficiently.
This prolonged preheating achieves two critical things: it cooks the dough rapidly, minimizing the time moisture has to migrate to the bottom, and it promotes the Maillard reaction, giving you that desirable browning and crispy texture. It’s a patience game, but one that pays off immensely in the final product. Don’t just trust your oven’s preheat beep; give it a good, long soak in the heat.
Your Baking Surface Matters More Than You Think
For the longest time, I used a flimsy metal pizza pan, or sometimes just a baking sheet, convinced it was ‘good enough.’ It wasn’t. The material and thickness of your baking surface are paramount to achieving a crispy crust. Thin metal pans simply don’t retain enough heat to give the pizza dough that initial shock it needs. They cool down too quickly when the dough is placed on them, leading to a steamy, not crispy, environment.
The real game-changer for me was investing in a pizza steel. If a pizza stone is good, a pizza steel is next-level. Steel conducts heat far more efficiently and retains heat for much longer than ceramic or stone. This means it transfers more intense, direct heat to the crust’s bottom, achieving a crispier, blistered texture. If a steel is out of your budget, a thick, unglazed pizza stone is the next best option. The key is thickness – look for at least 3/4 inch (2 cm) to ensure adequate heat retention.
Place your pizza stone or steel on the top rack of your oven during the extended preheat. This positions the pizza closer to the top heating element (broiler), which will give your toppings and top crust that beautiful char and bubbling cheese without burning the bottom. It’s a simple adjustment that dramatically impacts crispness and overall bake quality.
The Enemy Within: Excess Moisture from Toppings
Even with a super-hot oven and the perfect baking surface, a soggy crust can still emerge if you’re not mindful of your toppings. Many home pizza makers (myself included, initially) tend to go overboard, thinking more is always better. But when it comes to pizza, especially achieving crispness, less is often more.
Excess moisture from toppings is a silent killer of crispy crusts. Ingredients like fresh mozzarella, mushrooms, spinach, and many vegetables release a surprising amount of water as they cook. This moisture can seep into the dough, turning it into a steamy mess.
Here’s what changed my approach:
- Drain wet ingredients: Squeeze excess water from spinach, mushrooms, or any other high-moisture vegetable. Blot fresh mozzarella (especially buffalo mozzarella) with paper towels before placing it on the pizza.
- Go easy on the sauce: A thick layer of sauce creates a barrier that prevents heat from reaching the dough effectively and contributes to moisture. Use a light, even spread. My rule of thumb is just enough to cover the dough without pooling.
- Pre-cook or caramelize: For very wet vegetables like onions, peppers, or mushrooms, a quick sauté or roast beforehand can remove much of their moisture and intensify their flavor, adding to the pizza’s overall quality without compromising the crust.
- Consider a par-bake: If you love particularly wet or heavy toppings, a trick I learned from a pro is to par-bake your crust. Bake the plain dough for 3-5 minutes until it’s just set and lightly golden, then remove it, add your toppings, and return it to the oven to finish. This creates a stronger moisture barrier.
Don’t Forget the Dough: Balling and Stretching Techniques
While this article focuses beyond the dough recipe itself, your dough handling does play a crucial role in preventing sogginess. Many common mistakes lead to an overly dense or uneven crust that struggles to crisp up.
First, avoid under-proofing. Under-proofed dough is dense and heavy, making it difficult for moisture to escape. Ensure your dough has had sufficient time to rise and develop a light, airy structure. When you press a finger into it, it should slowly spring back.
Second, the way you stretch your dough matters. Resist the urge to use a rolling pin. Rolling pins push out all the air, resulting in a dense, uniform crust that’s prone to being chewy rather than crispy. Instead, use your hands to gently stretch the dough, working from the center outwards, leaving a slightly thicker rim for the crust. This preserves the air bubbles, which contribute to a lighter, crispier texture.
Finally, use semolina flour or cornmeal for dusting your peel. This creates tiny ball bearings that help the pizza slide off easily, preventing sticking. But it also creates a thin, protective layer between the dough and the hot stone, allowing for airflow and promoting crisping without burning. I sprinkle a generous amount on my peel, shake off the excess, and then stretch my dough directly onto it.
The Finishing Touch: Broiler Power and Post-Bake Rest
Once your pizza is in the oven, you’re not quite done. For that final, golden-brown char on the top crust and perfectly melted, slightly browned cheese, the broiler is your secret weapon. After the pizza has cooked for about 5-7 minutes (depending on your oven and desired crispness), keep a close eye on it. If the bottom crust is looking good but the top needs a boost, turn on your broiler for the last 1-2 minutes.
This blast of direct top-down heat will quickly brown the cheese and crust, adding another layer of texture and visual appeal. Be vigilant, though, as broilers can go from perfect to burnt in a matter of seconds. Stay by the oven and watch it closely.
Finally, and this might sound counter-intuitive but trust me, let your pizza rest for 2-3 minutes after it comes out of the oven. Just like resting meat, this allows the residual heat to finish cooking, helps the cheese set, and most importantly, allows any remaining steam to escape from the crust. If you cut into it too soon, that trapped steam will immediately migrate to the bottom, turning your hard-earned crispness into sogginess. Slice it, let it sit for a few minutes, and then enjoy your perfectly crispy, homemade pizza.
Frequently Asked Questions
Can I use parchment paper when baking pizza on a stone or steel?
Yes, you can use parchment paper, especially if you’re worried about sticking or prefer an easier transfer. However, parchment paper acts as a slight insulator, preventing some of the direct, intense heat from reaching the crust immediately. For the absolute crispiest crust, I recommend dusting your peel with semolina or cornmeal and sliding the pizza directly onto the preheated stone or steel. If using parchment, remove it halfway through baking to allow direct contact.
My oven doesn’t get very hot. Can I still get a crispy crust?
It’s certainly more challenging, but not impossible. The key becomes even longer preheating (up to 2 hours) and definitely using a pizza steel placed on the top rack. You might also need to rely more heavily on the broiler during the final minutes of cooking, and a par-bake of the dough before adding toppings can help build a stronger base.
How do I prevent the pizza from sticking to the peel?
The best way is to use a generous dusting of semolina flour or cornmeal on your pizza peel before stretching your dough. Once the dough is on the peel, assemble your pizza quickly. Give the peel a gentle shimmy or shake to ensure the pizza isn’t sticking before you slide it into the oven. If it feels stuck, gently lift an edge and add a little more semolina underneath.
What type of sauce is best for a crispy crust?
A simple, uncooked tomato sauce works best. Crushed San Marzano tomatoes, lightly seasoned with salt, pepper, and a touch of olive oil, is ideal. Avoid sauces with high water content or thick, chunky vegetables that add excess moisture. Less is truly more when it comes to sauce for crispness.
Should I cook the toppings before putting them on the pizza?
For high-moisture vegetables like mushrooms, onions, or spinach, yes, it’s highly recommended. Sautéing or roasting them beforehand removes excess water, concentrates their flavor, and prevents them from steaming your crust. Meats like sausage or bacon should also be pre-cooked to render fat and ensure they cook through evenly with the pizza.
Achieving that elusive, perfectly crispy homemade pizza crust might seem daunting, but it’s entirely within reach with a few adjustments to your technique. By focusing on maximizing oven heat, using the right baking surface, being mindful of moisture from toppings, and employing smart dough handling, you’ll transform your soggy pies into glorious, crackling masterpieces. It changed everything for me, and I’m confident it will for you too. So go ahead, preheat that oven, dust that peel, and prepare for some truly amazing pizza nights.
Written by Sarah Ellison
Home efficiency, decluttering, and mindful living
A former lifestyle editor with a keen eye for practical home solutions and personal organization.
You Might Also Like
Why Your Car Stereo Has No Bass (And What Actually Works for Deep, Punchy Sound)
Struggling with weak car stereo bass? Discover the hidden reasons behind poor low-end sound and what actually works for deep, punchy audio.
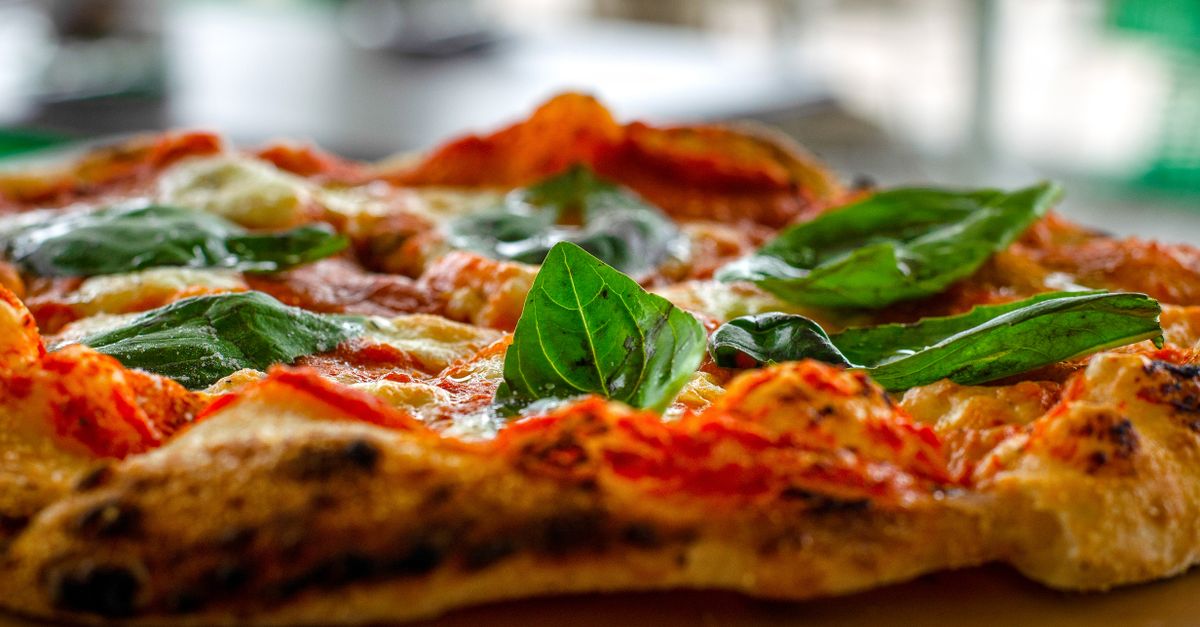
Why Your Homemade Pizza Crust is Soggy (And The Pro Secrets for Pizzeria-Quality Crisp)
Stop soggy pizza! Learn the overlooked techniques from a pro to achieve a truly crispy, pizzeria-quality crust at home every time.
Why Your Homemade Cookies Are Flat (And The Simple Fixes That Guarantee Puffy Results Every Time)
Tired of flat, crispy cookies? Discover the overlooked mistakes in baking that lead to thin results and the simple, proven fixes for perfectly puffy cookies.