Why Your Homemade Pizza Crust is Soggy (And The Pro Secrets for Pizzeria-Quality Crisp)
You’ve spent the afternoon crafting the perfect sauce, meticulously chopping fresh toppings, and carefully layering cheese. The aroma fills your kitchen, promising a culinary triumph. Then, the moment of truth: you pull your masterpiece from the oven, slide a slice onto your plate, and… disaster. The center of your pizza is a damp, floppy mess. The crust, instead of being golden and crisp, is pale and chewy. If this sounds painfully familiar, you’re not alone. I’ve been there more times than I care to admit, convinced that achieving that elusive pizzeria-quality crisp at home was a dark art only mastered by seasoned pizzaiolos. But after countless experiments, burnt edges, and frustratingly soggy bottoms, I discovered that the problem wasn’t my ingredients or even my oven, but a few subtle, yet critical, technique flaws that most home cooks overlook.
Key Takeaways
- Preheat your pizza stone or steel significantly longer than you think is necessary to transfer maximum heat.
- Use a low-hydration dough and avoid over-handling to develop strong gluten structure for a crisper crust.
- Par-bake your pizza crust for 5-7 minutes before adding sauce and toppings to prevent sogginess.
- Don’t overload your pizza with excessive sauce or wet toppings, which release too much moisture during baking.
The Overlooked Power of Extreme Heat (And Why Your Oven Thermometer Lies)
Most home ovens, even when set to their highest temperature, struggle to replicate the intense, consistent heat of a professional pizza oven. A typical pizzeria oven can reach upwards of 800-900°F (425-480°C), cooking a pizza in mere minutes. Your home oven, even at 500-550°F (260-290°C), just can’t compete. But the real secret isn’t just the ambient air temperature; it’s the direct, conductive heat transferred from the cooking surface. A cold or insufficiently heated pizza stone or steel is the primary culprit behind a soggy bottom.
In my early pizza-making days, I’d pop my pizza stone into the oven, let it preheat for 20-30 minutes, and then launch my pizza. The results were consistently disappointing. The dough would cook through, but the bottom remained soft and pale. What changed everything for me was realizing that my oven thermometer was measuring air temperature, not the stored thermal energy in my stone. Think of it like a cast-iron skillet: you need to preheat it on the stove for a good 5-10 minutes before adding your steak to get that perfect sear. The same principle applies to pizza.
The Fix: You need to preheat your pizza stone or steel for at least 60 minutes, if not 90 minutes, at your oven’s highest temperature (usually 500-550°F or 260-290°C). This extended preheat time allows the stone to absorb and store enough thermal energy to instantly shock the dough, creating a rapid crisping effect from the bottom up. Without this initial blast of heat, the moisture in your dough slowly evaporates, creating steam and a soft, chewy texture rather than a crisp one. A good test: if your stone isn’t smoking slightly when you open the oven door after an hour, it might not be hot enough.
The Low-Hydration Dough Advantage (And Why Simpler is Often Better)
Many popular pizza dough recipes, especially those touting airy, Neapolitan-style crusts, often call for high hydration levels (70-75% water to flour ratio). While these can produce beautiful, bubbly corniciones in a hyper-hot professional oven, they are a recipe for disaster in a standard home oven. The excess moisture in high-hydration dough takes longer to evaporate, leading to a gummy texture and, you guessed it, a soggy bottom.
In my experience, home pizza thrives on a lower hydration dough, typically in the 60-65% range. This creates a dough that is easier to handle, less sticky, and crucially, has less water to cook out, resulting in a much crisper crust. A lower hydration also contributes to a stronger gluten structure, which gives the crust its characteristic chew and rigidity.
The Fix: When making your dough, aim for a hydration level between 60% and 65%. This means for every 100 grams of flour, use 60-65 grams of water. For example, if you’re using 500g of flour, use 300-325g of water. Don’t be tempted to add more water than the recipe calls for, even if the dough feels a little stiff initially. As you knead, the gluten will develop, and the dough will become more pliable. Another common mistake is overworking the dough during stretching or transferring, which can release trapped air and compromise the structure. Handle it gently and efficiently.
The Underrated Technique of Par-Baking (Your Secret Weapon Against Gummy Centers)
This is perhaps the most impactful technique I discovered for consistently crisp crusts, especially when dealing with wetter toppings or a longer bake time. Par-baking, or partially baking, the crust before adding your toppings ensures that the dough has a head start on firming up and drying out, preventing it from becoming a sponge for your sauce and other moisture-rich ingredients.
I used to assemble my pizzas entirely before baking, and no matter how hot my stone was, I’d still occasionally get a slightly undercooked, gummy center. This was particularly true with saucier pizzas or those with fresh mozzarella. Par-baking changed that game entirely. It gives the dough a structural foundation, allowing the heat to fully penetrate and set the crust before it’s burdened with toppings.
The Fix: After shaping your dough and transferring it to a piece of parchment paper or a lightly floured pizza peel, launch the bare dough directly onto your preheated stone/steel. Bake for 5-7 minutes, or until the crust is lightly puffed and just starting to turn golden in spots. You might see a few bubbles form – that’s good! Remove the par-baked crust from the oven, then quickly add your sauce and toppings. Return the pizza to the oven and continue baking for another 7-12 minutes, or until the cheese is bubbly and golden, and the crust is perfectly crisp. The difference this makes is monumental.
The Goldilocks Zone of Toppings (Not Too Much, Not Too Little)
While we all love a generously topped pizza, an overloaded pie is a guaranteed path to sogginess. Too much sauce, too many vegetables, or an excessive amount of cheese will release significant moisture during baking, essentially steaming your crust instead of allowing it to crisp. This creates a barrier to the direct heat, preventing that coveted bottom char and crunchy texture.
I remember one particular incident where I tried to make a
Written by Sarah Ellison
Home efficiency, decluttering, and mindful living
A former lifestyle editor with a keen eye for practical home solutions and personal organization.
You Might Also Like
Why Your Car Stereo Has No Bass (And What Actually Works for Deep, Punchy Sound)
Struggling with weak car stereo bass? Discover the hidden reasons behind poor low-end sound and what actually works for deep, punchy audio.
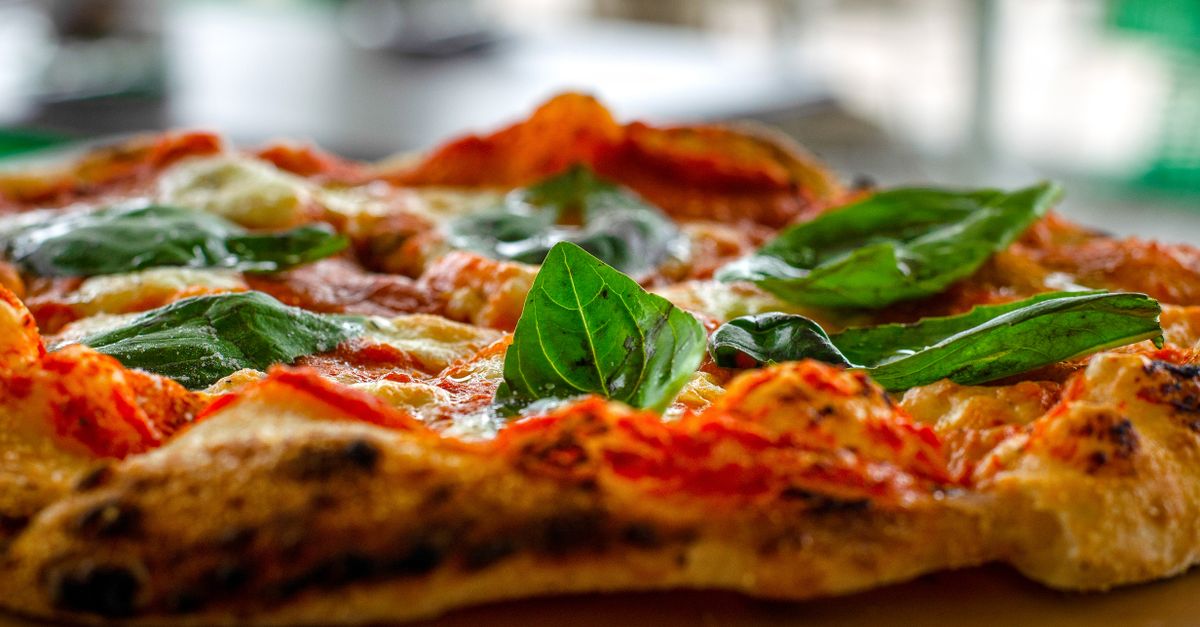
Why Your Homemade Pizza Crust is Soggy (And The Pro Secrets for Pizzeria-Quality Crisp)
Tired of soggy homemade pizza? Discover the overlooked mistakes that lead to a limp crust and the pro tips for a crispy, flavorful base.
Why Your Homemade Cookies Are Flat (And The Simple Fixes That Guarantee Puffy Results Every Time)
Tired of flat, crispy cookies? Discover the overlooked mistakes in baking that lead to thin results and the simple, proven fixes for perfectly puffy cookies.